Step-by-Step Guide To Installing A 3kW Solar System
Installing a 3kW solar system is a great way to reduce your carbon footprint and save money on your energy bills. However, the installation process can be a bit complicated and overwhelming for those who are not familiar with it. In this article, we will provide a step-by-step guide to installing a 3kw solar power system.
Step 1: Check On Your Roof
Before installing a 3kW solar system, it is important to ensure that the roof where you will install them is suitable for solar panels. This includes things such as angle, orientation, and the shading of your roof. The ideal roof should have a south-facing aspect and minimal to no shading to maximize solar energy production.
Step 2: Determine Your Energy Needs
Next, you will have to determine your energy needs to be able to determine how many solar panels you will need for your 3 kW solar system. You can easily calculate this by reviewing your past energy bills or, better yet, consulting with a solar energy expert.
Step 3: Secure the Required Permits
Most states and municipalities will require permits before installing a solar system. So before you can install your solar panels, you will have to check with your local government to determine the required permits and ensure that our solar system complies with the rules and regulations of your local area.
Step 4: Install the Mounting System
The mounting system is used to secure the solar panels on your roof so that they won’t fall off with just a slight gust of wind. The only thing that you should keep in mind is to carefully follow the manufacturer’s instructions and ensure that the mounting system is properly attached to your roof.
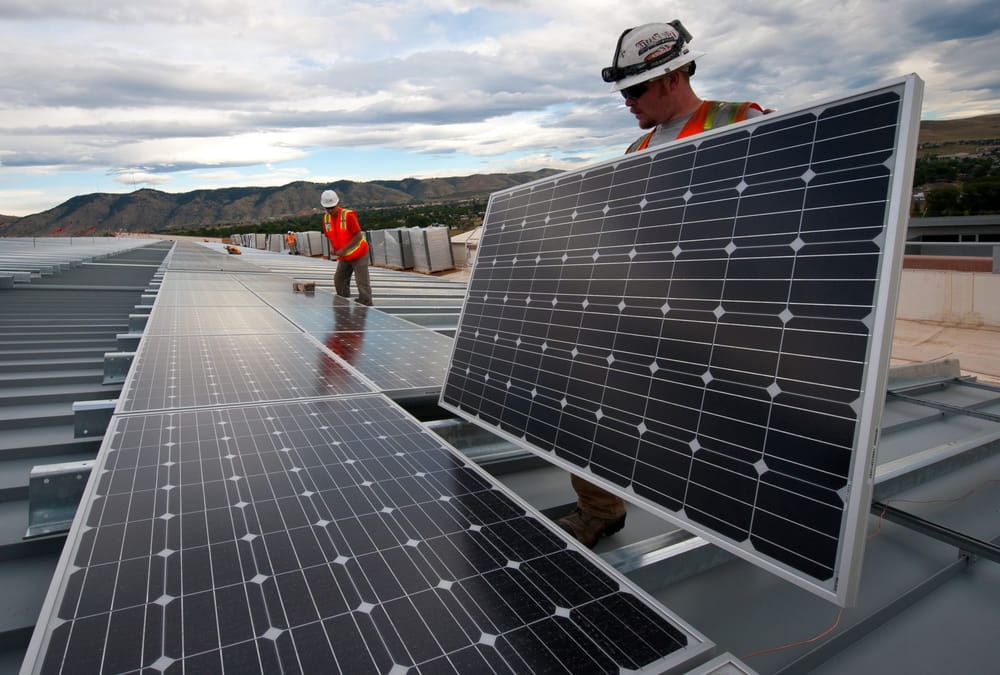
Step 5: Install the Solar Panels
Once the mounting system is already in place, you can now start installing your solar panels. Again, it is very important to follow the manufacturer’s instructions carefully to ensure that the panels are securely attached to the mounting system.
Step 6: Connect the Wiring
The next thing that you will have to do is connect the wiring from the solar panels to the inverter. This process includes installing a disconnect switch that is useful for a much easier way to disconnect the solar panels from the inverter during maintenance or emergencies.
Step 7: Install the Inverter
The inverter is the one that is responsible for converting the DC electricity generated by the solar panels into AC electricity that can be used to power your home. More importantly, the inverter should be installed in a location that is easily accessible and well-ventilated to prevent it from overheating.
Step 8: Connect the Inverter to Your Electrical System
Lastly, you will have to connect the inverter to your own electrical system. This step includes installing a utility meter, which is very helpful in measuring the amount of energy that your solar system produces and the amount of energy that you have consumed by using the grid.
Conclusion
Installing a 3kW solar system is a complex process that requires careful planning and attention to detail. By following the steps that were outlined above and by seeking help from a professional, it is easier to enjoy the benefits of clean and renewable energy while simultaneously reducing your electricity bills by a large margin.